Invite tenants
What this guide helps you do
Section titled “What this guide helps you do”Add tenants to a building so they can create tickets and read building communications.
Who can do this
Section titled “Who can do this”Organization admins. Landlords may invite tenants for buildings they manage when allowed.
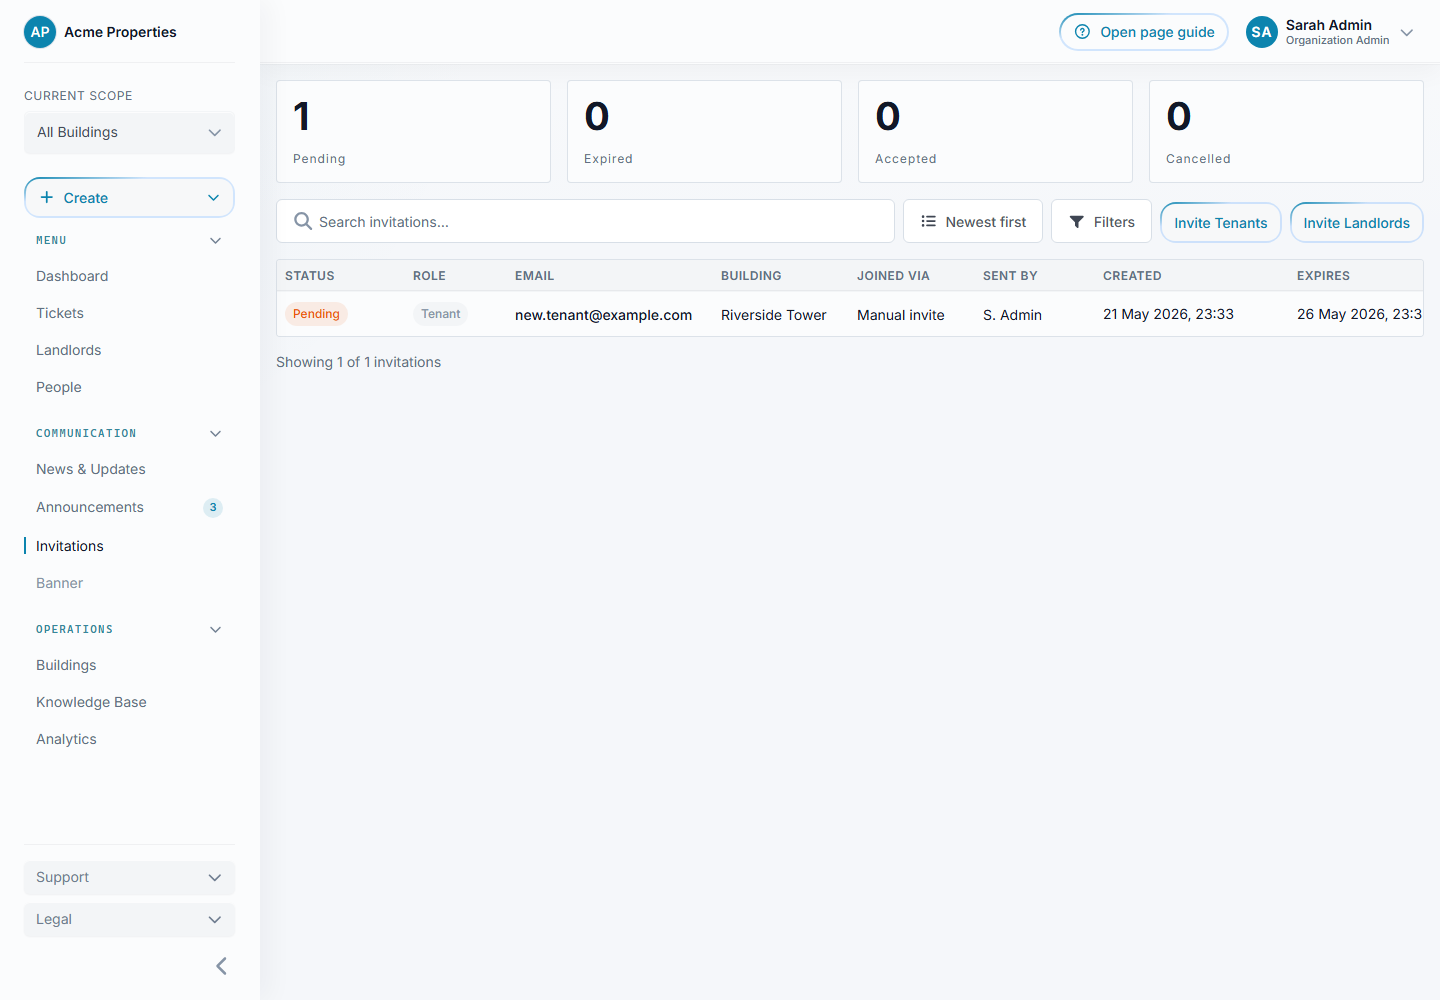
Where to find it in Sicket
Section titled “Where to find it in Sicket”Go to Invitations, then choose Invite Tenants.
Before you start
Section titled “Before you start”Choose the building first. Tenants must belong to a building.
Step-by-step for an individual invite
Section titled “Step-by-step for an individual invite”- Open
Invitations. - Choose
Invite Tenants. - Select the building.
- Enter the tenant email address.
- Review the invitation.
- Send the invitation.
Step-by-step for bulk invites
Section titled “Step-by-step for bulk invites”- Open the bulk invite tab.
- Select the building.
- Add one tenant per row.
- Check the review step for invalid or duplicate email addresses.
- Send the invitations.
Step-by-step for QR self-join
Section titled “Step-by-step for QR self-join”- Open the QR code tab.
- Select the building.
- Share or print the QR code.
- Tenants scan the code and verify their email.
- Staff review the join request before the tenant receives access.
Field-by-field explanation
Section titled “Field-by-field explanation”Building decides where the tenant will belong.
Email is the address that receives the invitation. During account creation, the tenant must use the invited email for verification. They can change it later where account settings allow.
Join method shows whether the tenant was added by manual invite, bulk invite, or QR self-join.
What happens next
Section titled “What happens next”Manual invited tenants receive an email and create their account from the invitation link.
QR self-join tenants verify their email first, then wait for staff approval.
Common issues
Section titled “Common issues”If an email is already used, Sicket should explain that the invite cannot be created for that same organization.
If email delivery is unavailable, the invitation should not silently disappear. Staff should see an error and retry later.